
By Sambam
As winter started to loosen its firm grip on Toronto, green things began sprouting out of my mind. I wanted to plant some seeds! It was still too cold to plant anything outside but my green thumb was itchy. I decided to get some seeds sprouting in the warmth and the indirect light on the 3rd floor so that they’d be ready for a transplant to the garden by the time spring officially decided to move in.


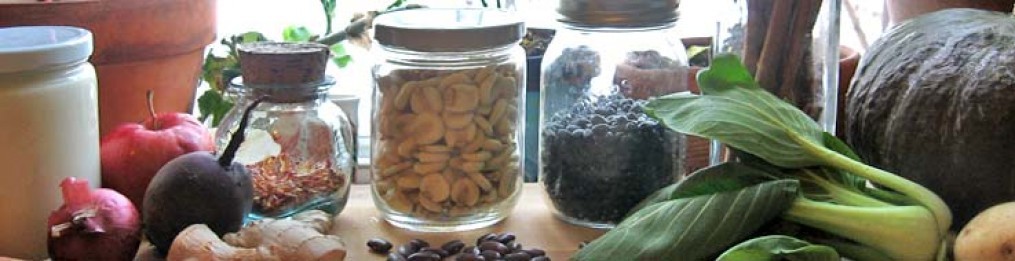
First step, seeds! We looked through our gardening inventory and found several packets of seeds. The problem was, they were all a year or more past their expiration date. I’m not a big believer in expiration dates. I developed a keen awareness of their arbitrariness while dumpster diving as my main source of food. However, the efficacy of seeds could be more complex than using my nose to tell if a container full of yogurt was spoiled or not. I began searching online for how to test if old seeds were still good or not.
The internet yielded 2 results that seemed straightforward enough to try out. The first method is as follows from todayshomeowner.com
“To find out if the seeds are still able to grow, pour the seeds into a container full of water and allow them to sit overnight. The seeds that are still able to germinate will sink to the bottom of the container while the bad seeds will remain floating on top.”
So that’s what I did. I poured all the seeds into different cups in a muffin tin so as to keep the seeds separate and not have to worry about a bunch of different containers. I poured warm water into each cup and let the seeds soak overnight. The next morning, I observed that most of the seeds had sunk with only a few floating on the surface. Great! This should mean that most of the seeds are still good according to the above method.
Now for step number 2 from Mr. Brown Thumb. This method suggests testing the seeds’ germination by placing them in damp paper towels inside ziploc bags in a warm location. “Within a week most seeds inside the dampened paper towel will begin to sprout.” Right they were! I followed this method and after only a few days, most of the seeds had sprouted.
An interesting note on the science behind soaking seeds to germinate them comes from gardeningknowhow.com. In short, seeds are tough! They have developed over the millennia to survive a variety of harsh conditions (including the digestive tracts of animals!) until everything is just right for them to germinate and begin growing. For most seeds, moisture levels indicate optimal growing times. But what stops seeds from germinating while still inside the moist coziness of the fruit they came from? These seeds contain a germination inhibitor to prevent them from sprouting while still inside the fruit. These inhibitors are leeched away by rainfall, the acid in a animal’s digestive tract, or by soaking them in a muffin tin and/or paper towels inside a plastic bag!


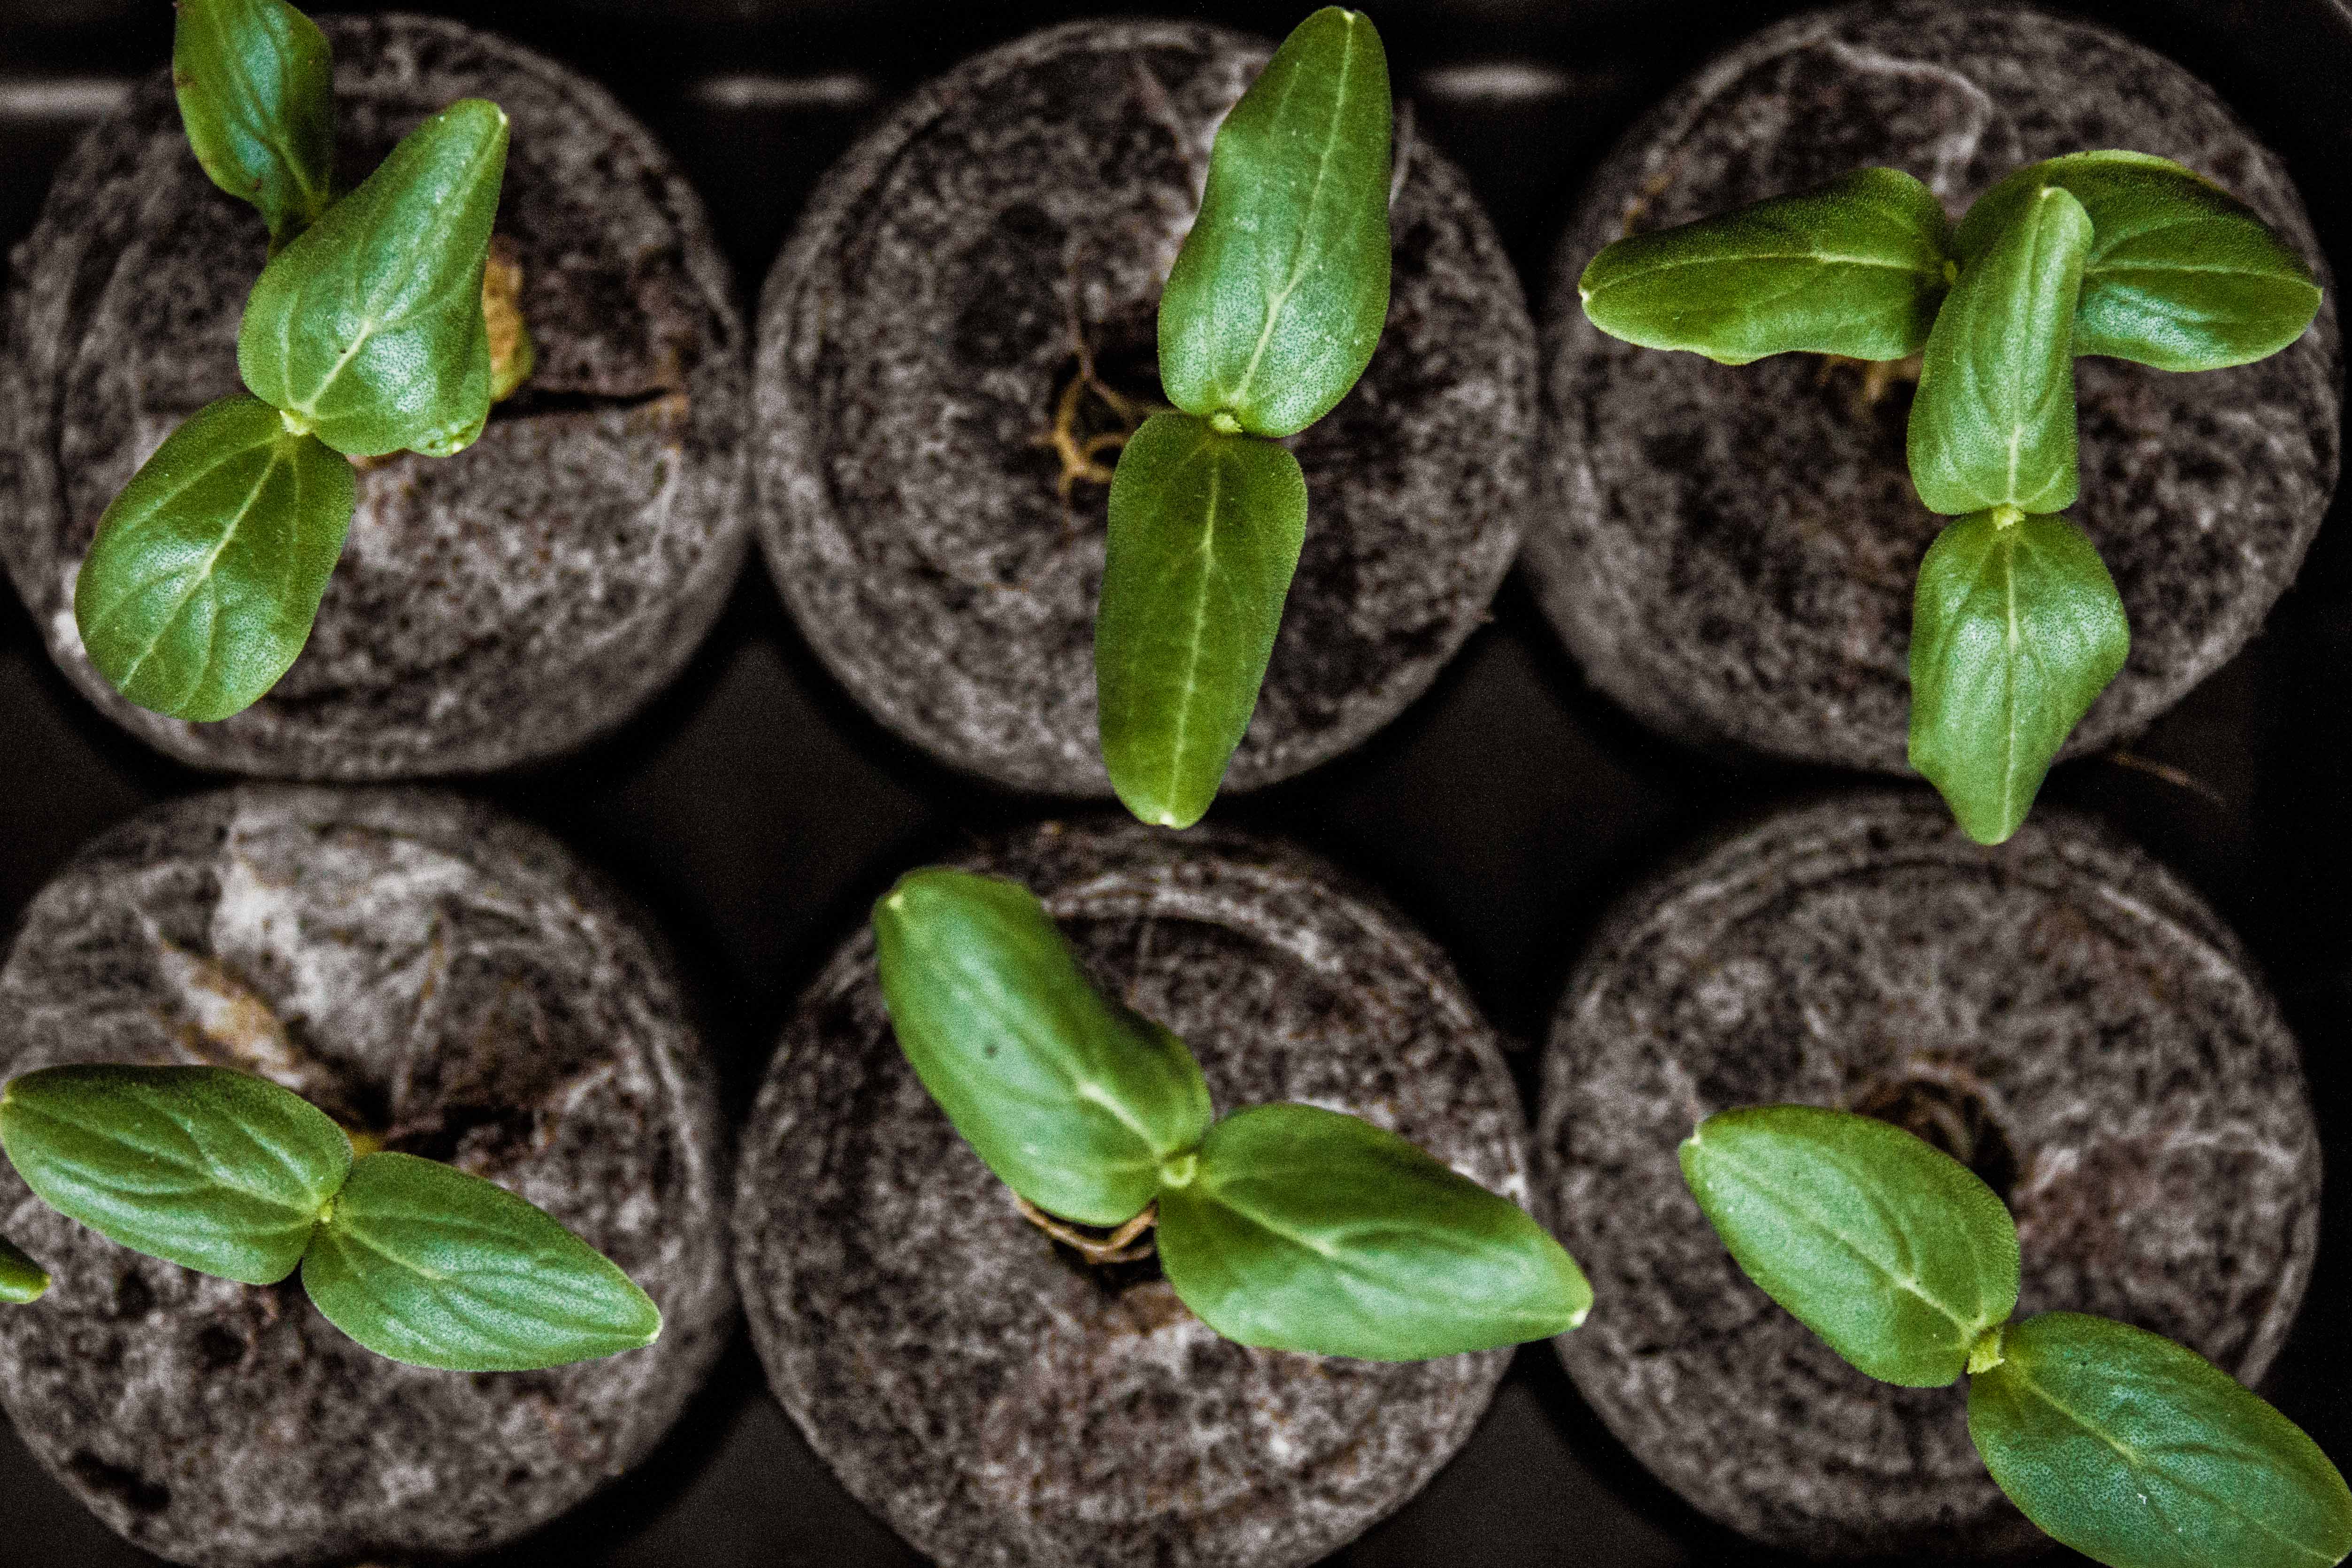
Okay, back to our newly sprouted seeds. Not all of the seeds that had sunk to the bottom of the tin (indicating they were still good to germinate) actually sprouted inside the paper towels inside the bags. These, I regrettably said goodbye to and threw away. The ones that did sprout, I carefully picked off of the paper towels and dropped them into pellets of moistened soil. Also important to note, I decided to plant a few of the seeds that hadn’t sprouted inside the damp paper towels just to see what would happen. As it turns out, the Jalapeño seeds and Purple Tomatillo seeds both did not sprout in the paper towels but did after I planted them in soil! All of this to say, the above germination methods did prove to be effective (or so it seems) but they are not the end-all-and-be-all.

So my recommendation is to go ahead and follow these methods to encourage your old seeds to germinate but if it appears that your seeds aren’t showing any signs of life, plant them anyway! You just might be surprised.
Unfortunately not all of our seeds made it out the other side. We lost a few good companions on the journey to the sun. Like humans, seedlings can become stringy and pale if left indoors too long. We need the sun and the wind to strengthen us and help us flourish. However, certain plants, like cucumber and tomato, love warmth. If moved outside before it’s warm enough, they can pout, wilt, and die.


Some tips on how and when to move seedlings outside come from this forum on Helpful Gardener. First, peat moss seems to be unhealthy for seedlings because too much water drains out and seedlings like to stay moist. Second, wait until the seedlings have grown a couple pairs of true leaves. These are the second set of leaves that grow about two weeks after planting. It’s like baby teeth being replaced by adult teeth in humans. Third, wait until the nighttime temperature stays above 10º C before moving warm loving plants like cucumber and tomatoes outside. Finally, a tip to make the transition from indoors to outdoors easier is to place plants underneath a bench. This keeps them sheltered from most direct sunlight and wind. Gradually, move the plants out from under the bench. Eventually, they will be ‘hardened’ and ready to do their thing in the great outdoors!
Good luck with your seeds and let us know if you find any tricks that help your seeds grow or if there are any corrections that need to be made in the amateur horticulture advice given above.
Much love.

